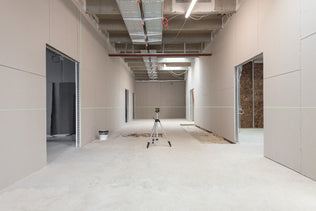
Z3D-Control is a laser and camera based 3D-measuring and control system. Defective areas are marked via laser projection directly onto the work surface.

Z3D-Control not only means the support and optimization of the manufacturing process but also marker less measuring of the work piece with an impressive exactness of 1/10,000 of the measuring area. The laser based scan is able to detect profiles of less structured and uncooperative surfaces, thus allowing even the measurement of glowing steel.
However a most important and unique advantage of Z3D-Control is its special control feature: In addition to the common comparison between 3D-scandata and the CAD scheme, Z3D-Control indicates the defective areas via laser projection directly on the work piece - This function gives the worker an exactly located correction field and instruction.
Features
Laser projector and stereo cameras for measuring and calibration
Projection after measurement
Accuracy up to 1/10,000 parts of the measuring range
Measuring range freely adjustable
Reading of less structured objects and non-cooperative surfaces
No marker needed on the object
Immediate tracking of location position (continuous in real time)
Projector will be calibrated dynamically (managed by cameras)
Robust against stray light and reflections
Laser safety (class 2M)
Projection with large optical depth of focus
Software easy to handle
Supports typical data formats
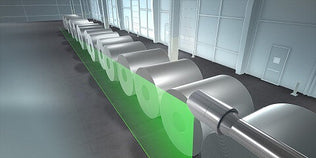
APPLICATION: Even red hot metals need to be inspected, which is why optical measuring systems or lasers are suitable.

Particular requirement:
• Reliable measuring results under difficult circumstances
Your benefits:
• Non-touch measurement

